Ever heard the saying, “If you want something done right, do it yourself”? That’s especially true for many common household repairs. Tackling small fixes around the house not only saves you money but also gives you a sense of accomplishment. Plus, it’s easier than you might think—even for beginners! Here’s a guide to practical, DIY-friendly home repairs to help you roll up your sleeves and take control of those nagging household issues.
Why DIY? The Benefits of Doing It Yourself
Before we jump into the how-to, let's talk about the why:
- Save money: No need to call a handyman for simple fixes that you can handle in under an hour.
- Time-efficient: Often, the time it takes to book a professional is longer than doing it yourself.
- Confidence booster: There’s nothing quite like the satisfaction of solving a problem yourself.
- Learn new skills: Every repair builds your confidence and equips you with knowledge for the future.
Now, grab your toolkit, and let's get to work!
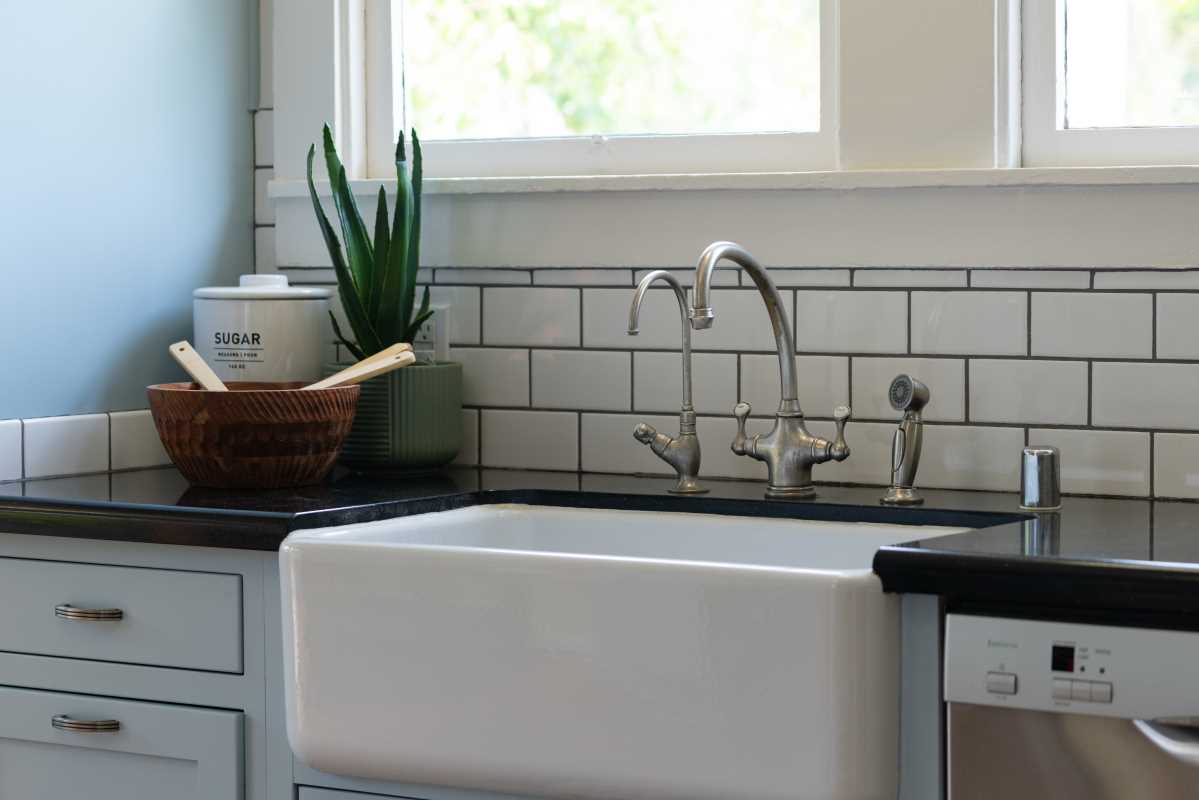
1. Fix a Leaky Faucet
That constant drip-drip-drip isn’t just annoying; it’s also wasting water (and raising your bill). Fortunately, fixing a leaky faucet is a quick and straightforward task.
What You’ll Need:
- Adjustable wrench
- Screwdriver
- Replacement washers or O-rings
- Plumber’s tape
Step-by-Step Instructions:
- Turn off the water supply: Look under your sink for the shut-off valves and turn them clockwise to stop the water flow.
- Plug the drain: Use a sink stopper or rag to prevent small parts from falling into the drain.
- Disassemble the faucet: Use your screwdriver or wrench to remove the handle and expose the inner components.
- Inspect the washer or O-ring: These are common culprits for leaks. If they’re worn out or damaged, replace them with new ones.
- Reassemble and test: Put everything back together, turn the water supply back on, and check for leaks.
Pro Tip: Keep an assortment of washers handy for quick fixes in the future!
2. Stop a Squeaky Door
A squeaky door doesn’t mean it’s haunted, but it is telling you something needs attention. Luckily, this fix is as easy as it gets.
What You’ll Need:
- WD-40 or another lubricant
- Cloth or paper towel
Step-by-Step Instructions:
- Locate the source: Gently swing the door back and forth to identify which hinge is squeaking.
- Apply lubricant: Spray a small amount of WD-40 directly onto the hinge pin. Wipe away any excess with a cloth.
- Move the door: Swing the door repeatedly to work the lubricant into the hinge.
Pro Tip: If you don’t have WD-40, try a little olive oil in a pinch!
3. Patch Small Holes in Walls
Whether it’s nail holes or accidental dings, patching small holes in your walls is a DIY task that instantly improves your home’s appearance.
What You’ll Need:
- Spackling paste
- Putty knife
- Sanding block or fine-grit sandpaper
- Touch-up paint
- Paintbrush
Step-by-Step Instructions:
- Clean the area: Wipe down the wall around the hole to remove dust or debris.
- Fill the hole: Apply spackling paste using a putty knife, smoothing it over the hole so it’s flush with the wall.
- Allow it to dry: Check the instructions on the spackle container for drying time.
- Sand smooth: Use your sanding block to smooth the dried spackle until it blends seamlessly with the wall.
- Paint over it: Use touch-up paint to match the rest of the wall.
Pro Tip: Keep a small can of your wall color handy for touch-ups like this!
4. Unclog a Slow-Draining Sink
A slow-moving drain can be frustrating, but you can often clear it with some simple tools and a bit of patience.
What You’ll Need:
- Plunger
- Baking soda and vinegar (optional)
- Bucket and gloves
Step-by-Step Instructions:
- Remove visible debris: Put on gloves and clear out any gunk around the drain opening.
- Use a plunger: Fill the sink partially with water, place the plunger over the drain, and give it a few firm plunges.
- Try a natural cleaner: Pour ½ cup of baking soda followed by ½ cup of vinegar down the drain, then flush with hot water after 10 minutes.
- Check the P-trap: If the clog persists, place a bucket under the U-shaped pipe under your sink, unscrew it, and clear out any debris.
Pro Tip: Avoid chemical drain cleaners to protect your pipes and the environment.
5. Replace a Broken Light Switch
If your switch isn’t functioning (or worse, sparking), it’s time for a replacement. Remember, safety is your #1 priority here.
What You’ll Need:
- Screwdriver
- Voltage tester
- Replacement switch
Step-by-Step Instructions:
- Turn off the power: Flip the circuit breaker for the switch you’re working on. Use a voltage tester to double-check that the power is off.
- Remove the old switch: Unscrew the cover plate and switch, then disconnect the wires from the terminals.
- Install the new switch: Connect the wires to the same terminals on the new switch. Use the screws to secure it in place.
- Reattach the cover plate: Turn the power back on and test the switch.
Pro Tip: Label your circuit breakers to make future electrical projects easier!
DIY Safety Dos and Don’ts
Dos:
- Always turn off power or water before repairing electrical or plumbing issues.
- Use proper tools to avoid injuries and ensure quality results.
- Keep a first-aid kit nearby, just in case.
Don’ts:
- Attempt a repair that you’re uncomfortable with (e.g., major electrical work). When in doubt, call a professional.
- Skip reading the instructions for tools or replacement parts.
Take the First Step Today
Fixing things yourself might seem intimidating at first, but it’s completely doable with a bit of guidance and effort. Start small, tackle one repair at a time, and build momentum. Not only will you save money, but you’ll also gain a set of skills that make home maintenance a breeze.
Need more project ideas? Grab your toolkit and explore even more DIY possibilities around your home. You’ve got this!
.jpg)